How to Fix a Leaking Shower Pan
A leaking shower pan can cause significant damage to your bathroom and the surrounding structure if left unaddressed. Water infiltration can lead to mold growth, rotting wood, and compromised flooring. This comprehensive guide will walk you through the process of identifying and fixing a leaking shower pan, ensuring your bathroom remains watertight and functional.
Identifying the Problem

Before diving into repairs, it’s crucial to confirm that the shower pan is indeed the source of the leak. Signs of a leaking shower pan include:
- Water stains on the ceiling below the shower
- Damp or moldy baseboards near the shower
- Loose or lifting floor tiles around the shower area
- Musty odors emanating from the bathroom
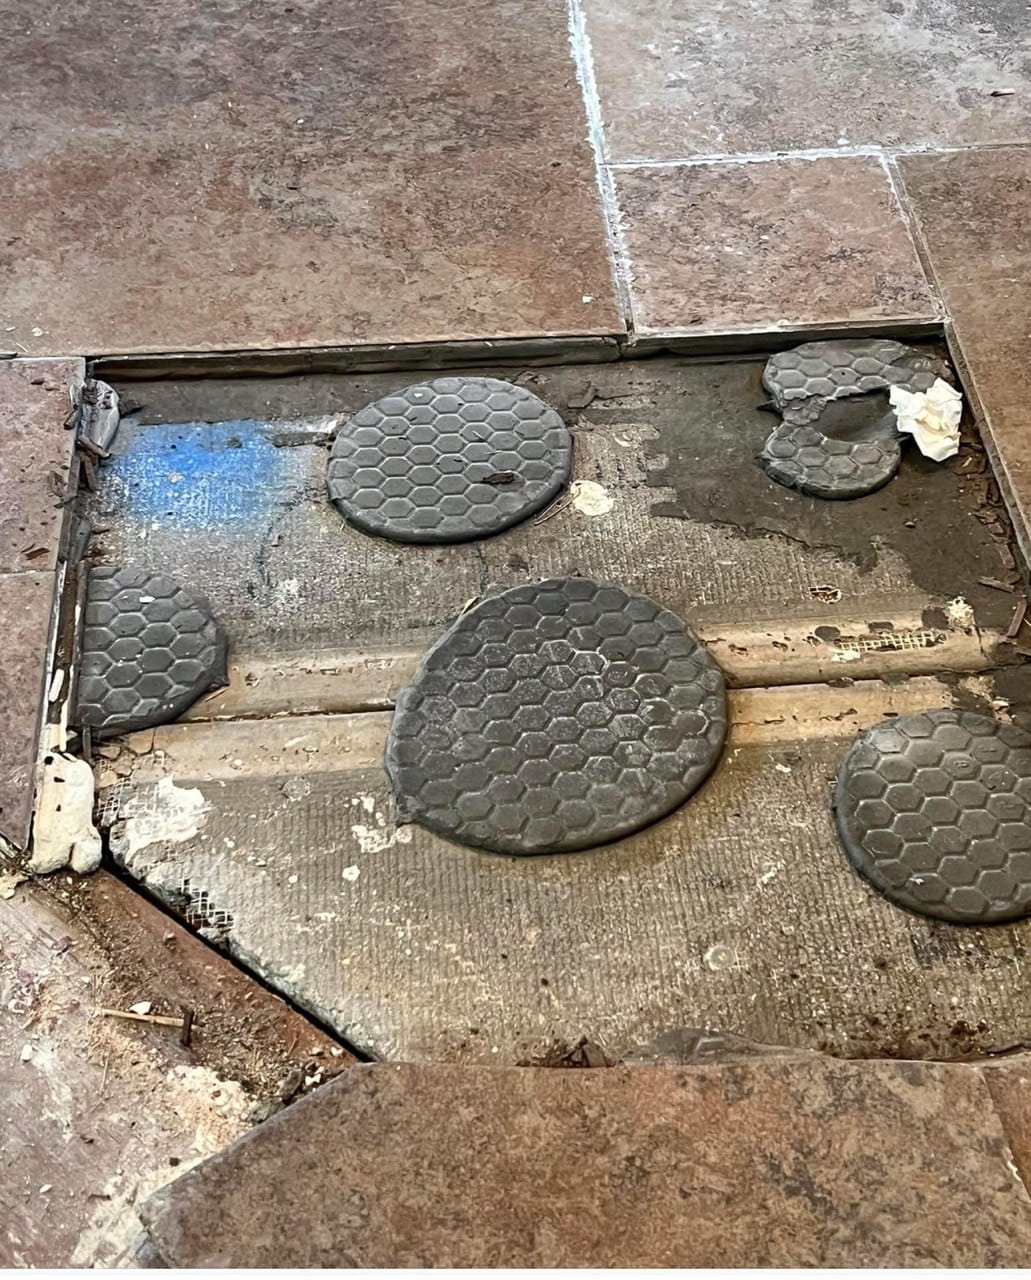
In the provided images, we can see evidence of water damage and ongoing renovation work, suggesting a significant leak that required extensive repair.
Assessing the Damage

Once you’ve confirmed a leak, the next step is to assess the extent of the damage. This may involve:
- Removing surrounding tiles: As seen in Image 5, tiles have been removed from the lower portion of the shower walls, exposing the underlying structure.
- Inspecting the subfloor: Check for signs of water damage, rot, or mold in the exposed areas.
- Examining the shower pan: Look for cracks, separations, or worn areas in the pan itself.
- Checking the drain connection: Ensure the drain is properly sealed and connected to the shower pan.
Preparing for Repair

Before beginning the repair process, gather the necessary tools and materials:
- Pry bar and hammer for removing damaged materials
- Utility knife for cutting away old caulk or sealant
- Cleaning supplies (vacuum, dehumidifier, fans)
- Replacement materials (new shower pan, mortar, waterproofing membrane)
- Safety equipment (gloves, safety glasses, dust mask)
Removing the Old Shower Pan
If the damage is extensive, you may need to remove the entire shower pan:
- Disconnect the drain: Unscrew the drain cover and disconnect the drain from the pan.
- Remove surrounding tiles and backer board: As shown in Image 5, remove tiles and backer board to expose the shower pan flange.
- Cut away caulk or sealant: Use a utility knife to cut away any caulk or sealant around the edges of the pan.
- Pry out the old pan: Carefully pry the old pan away from the subfloor, being cautious not to damage surrounding structures.
Repairing Water Damage
Before installing a new shower pan, address any water damage to the subfloor and surrounding structures:
- Remove damaged materials: Cut out any rotted wood or water-damaged materials, as seen in Image 3 where deteriorated materials are visible.
- Dry the area thoroughly: Use fans and dehumidifiers to ensure the area is completely dry before proceeding.
- Treat for mold: Apply a mold inhibitor to prevent future growth.
- Repair or replace damaged structures: Install new subfloor material or reinforce damaged framing as needed.
Installing the New Shower Pan

With the area prepared, you can now install the new shower pan:
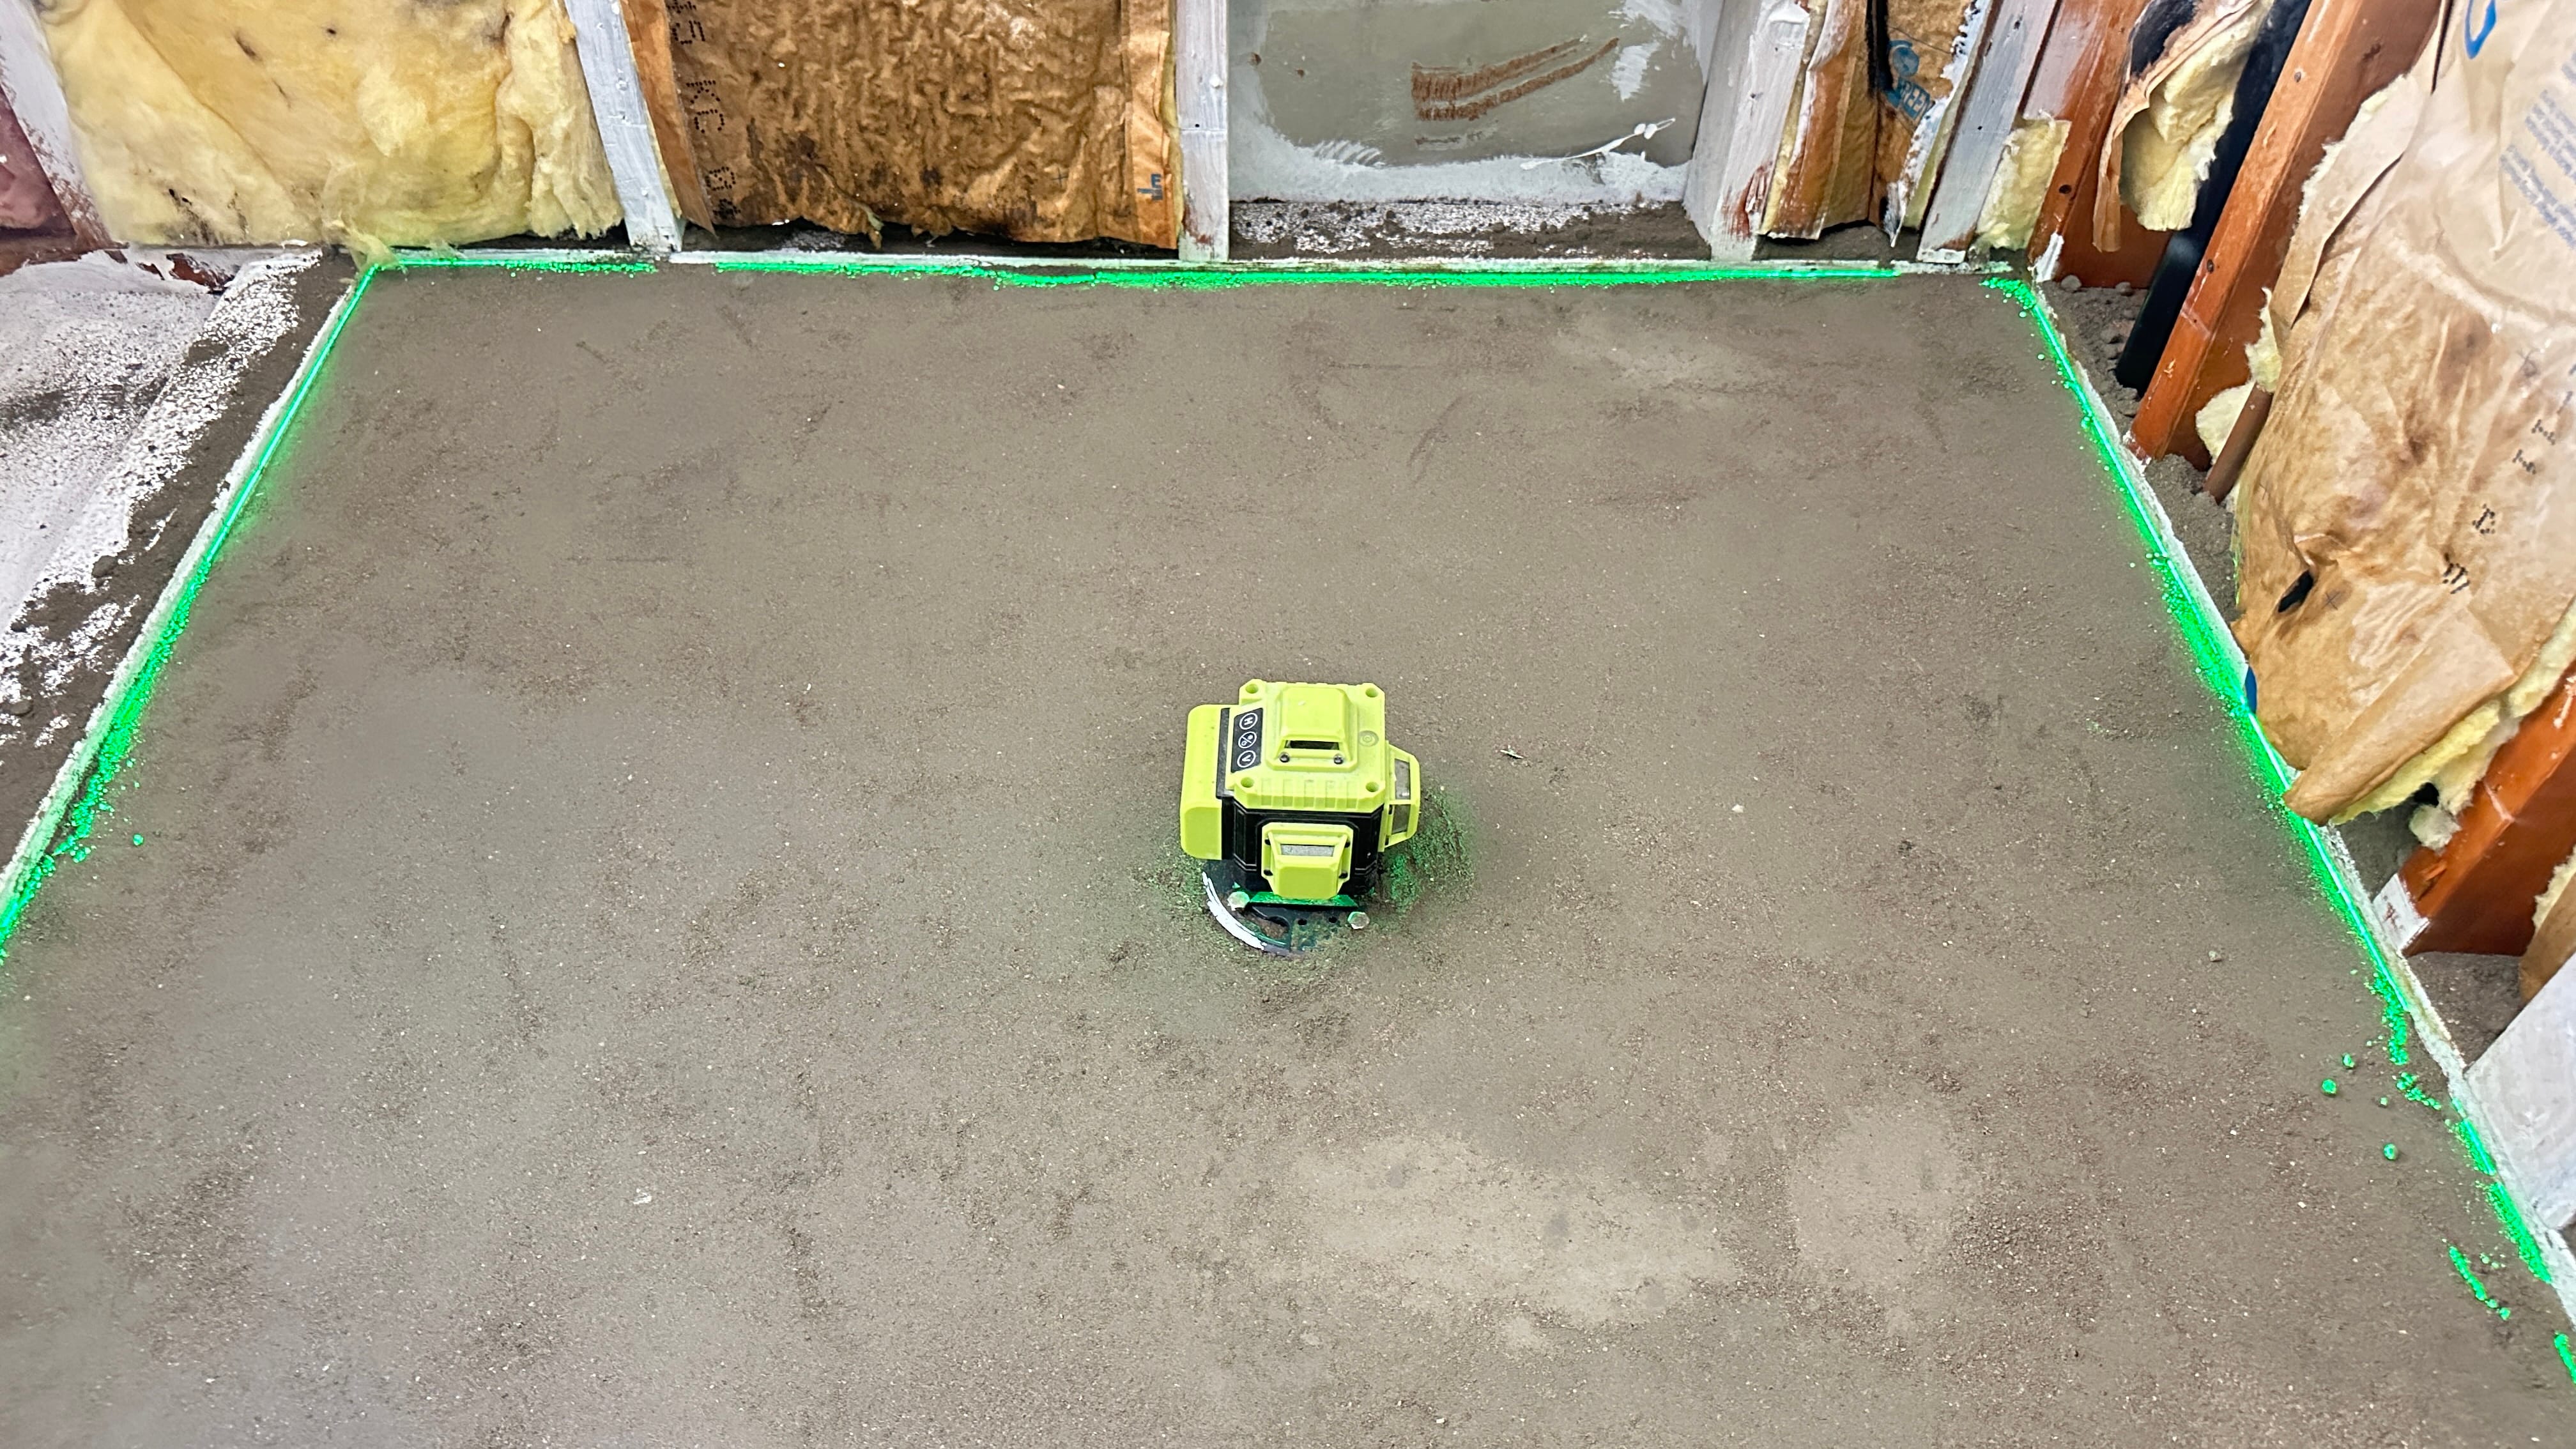
- Prepare the subfloor: Ensure the subfloor is level and clean. Apply a layer of thinset mortar to create a solid base for the new pan.
- Set the new pan: Carefully place the new shower pan, ensuring it’s level and properly aligned with the drain.
- Secure the pan: Fasten the shower pan flange to the studs according to the manufacturer’s instructions.
- Connect the drain: Install the new drain assembly, ensuring a watertight seal with the shower pan.
Waterproofing

Proper waterproofing is crucial to prevent future leaks:
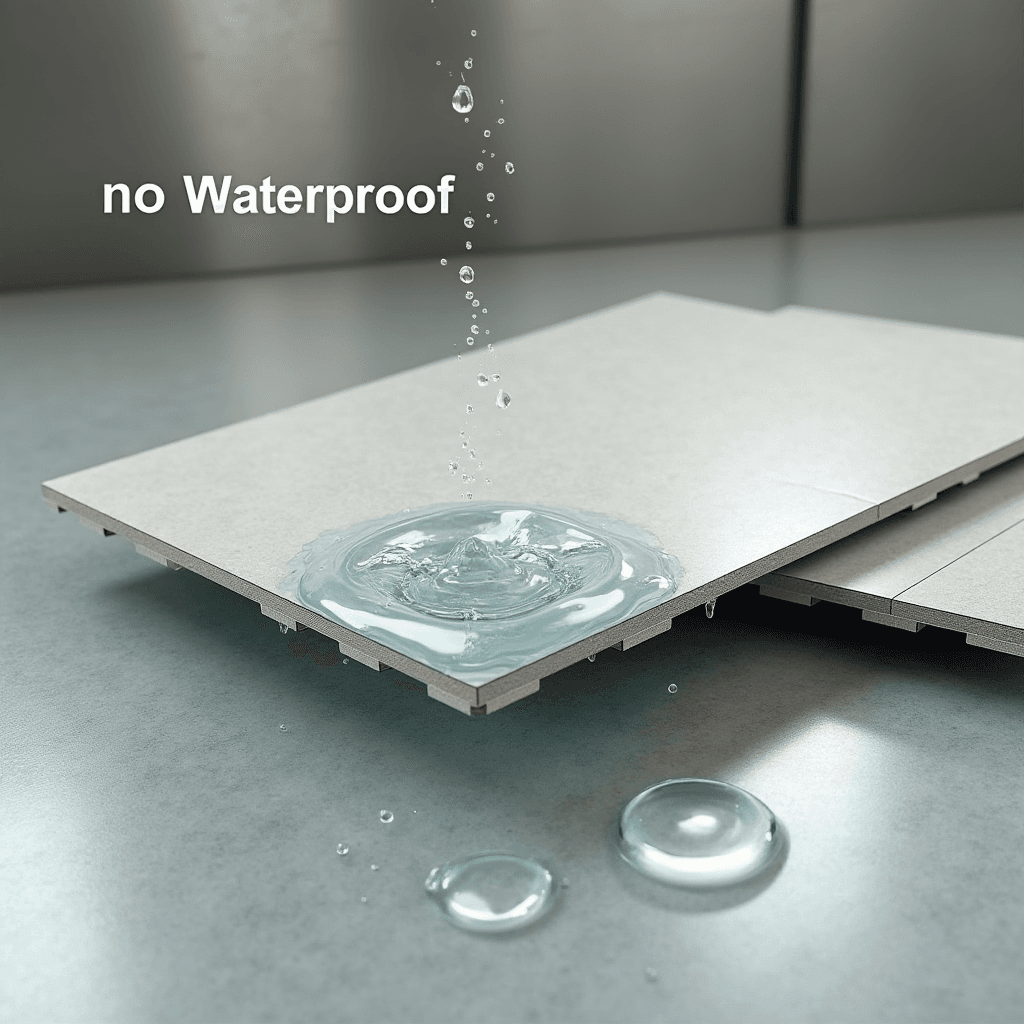
- Seal joints and corners: Pay special attention to corners, joints, and the area where the pan meets the walls, using appropriate waterproofing tape or sealant.
- Allow proper curing time: Follow the manufacturer’s instructions for curing times before proceeding with tile installation.
Rebuilding the Shower
With the new pan installed and waterproofing complete, you can begin rebuilding the shower:
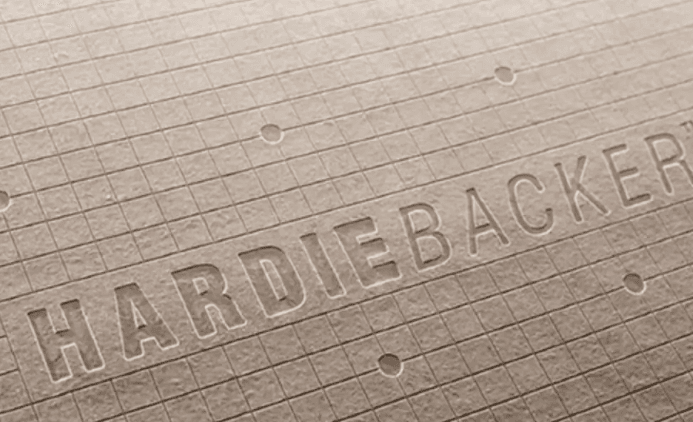
- Install backer board: Attach cement board or other water-resistant backer board to the walls.
- Apply tile: Install new tiles on the walls and floor, as shown in progress in Image 1, where new tiles are visible on the shower walls.
- Grout and seal: Once the tile adhesive has cured, apply grout between the tiles and seal all joints and corners with silicone caulk.
Final Touches and Testing
- Install fixtures: Reinstall the showerhead, faucets, and any other fixtures.
- Conduct a water test: Run water in the shower for an extended period, checking for any signs of leaks.
- Monitor the area: Keep an eye on the repaired area over the next few weeks to ensure no further leaks occur.
Preventative Maintenance

- Regularly inspect the shower for signs of wear or damage.
- Clean and reseal grout lines annually.
- Address any small issues promptly to prevent them from becoming major problems.
Conclusion

Fixing a leaking shower pan is a complex but manageable task for those with DIY experience. However, given the potential for water damage and the importance of proper waterproofing, many homeowners choose to hire professional contractors for this job. The images provided show various stages of a shower pan replacement project, highlighting the extensive work often required to properly address a leaking shower pan.
Remember, early detection and prompt repair of shower pan leaks can save you from costly water damage repairs in the future. Regular maintenance and inspection of your shower area can help you catch and address issues before they become major problems.
Need professional help with your shower repair? Contact us today for expert services!


